Building a shed can transform your backyard, giving you extra storage or a cozy workspace. However, a rushed or poorly planned shed installation can result in wobbly structures, leaks, or even costly repairs. By understanding common mistakes and how to sidestep them, you can ensure your shed stands strong for years.
Mistakes during shed installation often stem from skipping key steps like proper shed site preparation or choosing the wrong materials. These errors can turn a simple project into a headache. This guide breaks down the most common pitfalls and offers clear, practical solutions to help you get it right.
Whether you’re a DIY enthusiast or working with shed builders, this article will equip you with the knowledge to create a sturdy and functional shed. Let’s dive into the mistakes to avoid and the steps to take for a smooth shed installation process.
Why Proper Shed Installation Matters
A shed installation sets the foundation for a structure that lasts. Many people underestimate the importance of careful planning and preparation. A poorly installed shed can sag, leak, or even collapse, resulting in costly repairs and wasted time.
The Risks of Cutting Corners
Skipping steps like shed foundation prep can lead to uneven floors or walls that shift over time. For example, placing a shed on unprepared ground might seem like a time-saver, but rain can wash away loose soil, leaving your shed unstable. Always take time to level the ground and install shed base materials properly.
Long-Term Benefits of Doing It Right
A well-installed shed protects your tools, equipment, or outdoor furniture from weather damage. Proper shed site preparation ensures your shed stays level and secure, extending its lifespan. Investing effort up front saves you from repairs and replacements later.
Mistake 1: Poor Shed Site Preparation
Choosing the right spot for your shed is critical. Many people pick a location without considering drainage, sunlight, or access. This oversight in shed site preparation can cause water pooling, mold growth, or difficulty reaching your shed.
How to Choose the Perfect Spot
Look for a flat, well-drained area in your yard. Avoid low-lying spots where water collects after rain. Ensure the location allows easy access for moving items in and out. Also, check for overhead obstacles like tree branches that could damage your shed.
Steps for Effective Site Prep
Clear the area of grass, rocks, and debris. Level the ground using a shovel or a tamper to create a stable surface. For extra stability, consider adding a gravel or concrete base during shed foundation prep. This keeps your custom sheds dry and secure.


Mistake 2: Skimping on Shed Foundation Prep
A weak foundation is one of the biggest reasons sheds fail. Without proper shed foundation prep, your shed might sink, tilt, or crack over time. Many DIYers skip this step to save time, but it’s a costly mistake.
Why a Strong Foundation Matters
A solid foundation distributes the shed’s weight evenly, preventing structural damage. It also protects against moisture, which can rot wood or rust metal. A good installation of the shed base process ensures your shed stays level and durable.
How to Build a Reliable Foundation
Start by marking the shed’s footprint with stakes and string. Dig down a few inches and fill the area with gravel or pour a concrete slab for larger sheds. Compact the material tightly to avoid shifting. If you’re unsure, consult shed builders for advice on the best foundation for your shed size and soil type.
Mistake 3: Ignoring Local Regulations
Before starting your shed installation, verify that you have checked local building codes and obtained the necessary permits. Many homeowners overlook this, only to face fines or orders to move their shed later. Regulations vary by area, so don’t assume you’re in the clear.
Understanding Permits and Codes
Some areas require permits for sheds over a specific size, typically 100 square feet. Others have rules about how close a shed can be to property lines. Contact your local building office to confirm requirements before you begin shed site preparation.
How to Stay Compliant
Research zoning laws early in your planning. If permits are needed, submit your shed plans and site details to the local authority. This step ensures your shed storage project meets all legal standards and avoids surprises.
Mistake 4: Using Incorrect Tools or Materials
Using the wrong tools or materials can derail your shed installation. For example, choosing low-quality wood or mismatched hardware can weaken the structure. Similarly, using improper tools makes assembly harder and less precise.
Selecting the Right Materials
Pick materials suited to your climate. For wet areas, use pressure-treated wood or a vinyl shed to resist moisture. For metal sheds, ensure they have rust-resistant coatings. High-quality materials enhance your shed’s durability and minimize maintenance requirements.
Tools You’ll Need
Gather a level, drill, hammer, and measuring tape before starting. A power saw helps with precise cuts, especially for custom sheds. Check your shed kit’s instructions for specific tool requirements, and don’t skimp on quality to save a few bucks.
Mistake 5: Rushing the Assembly Process
Hurrying through shed installation often leads to misaligned panels, loose screws, or uneven floors. Taking your time ensures every piece fits correctly and the structure is secure.
Tips for a Smooth Assembly
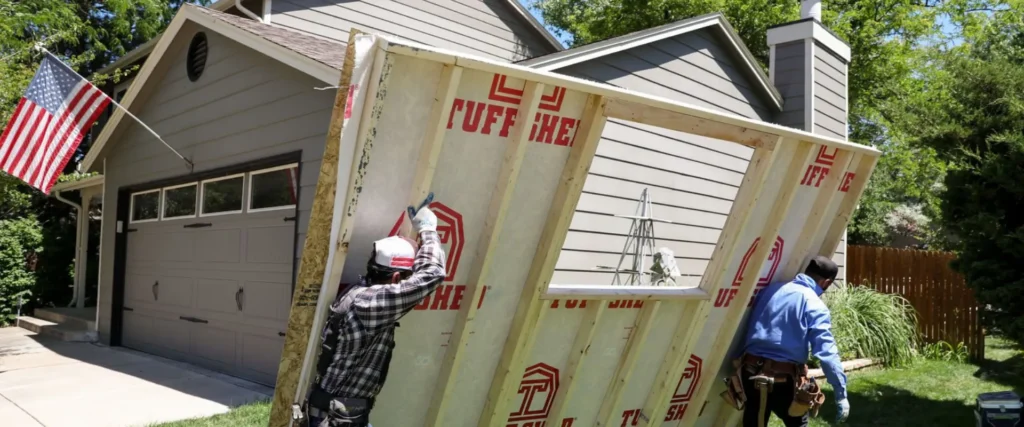
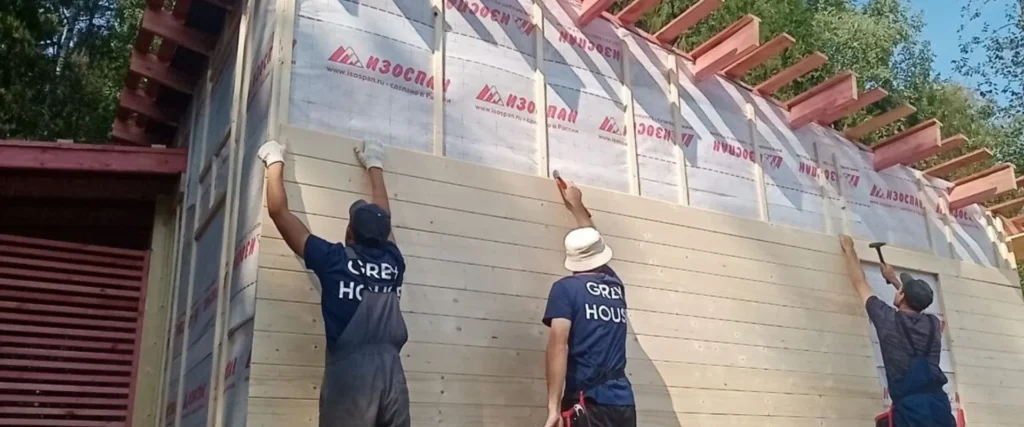
Read the instruction manual thoroughly before starting. Lay out all parts and check for missing pieces. Work with a partner to hold panels in place and double-check measurements. Patience during install shed base and assembly prevents costly fixes later.
Avoiding Common Assembly Errors
Don’t skip steps like squaring the frame or securing the roof correctly. Use a level at every stage to ensure the shed stays even. If you’re working with a shed installation expert, ask them to explain each step so you understand the process.


Mistake 6: Neglecting Ventilation and Drainage
Poor ventilation and drainage can ruin your shed. Without proper airflow, moisture accumulates, which can lead to the growth of mold or rust. Inadequate drainage during shed foundation prep lets water pool under the shed, damaging the base.
How to Improve Ventilation
Install vents or small windows to allow air circulation. This keeps the interior dry and prevents musty odors. For larger sheds, consider adding a ridge vent along the roofline to improve airflow.
Ensuring Proper Drainage
Slope the ground slightly away from the shed to direct water runoff. During shed site preparation, add a gravel layer to facilitate quick water drainage. These steps protect your shed and its contents from water damage.
Mistake 7: Overlooking Maintenance Needs
Even a well-installed shed needs regular care to stay in top shape. Many owners forget to check for wear and tear, leading to problems like leaks or warped wood.
Simple Maintenance Tips
Inspect your shed annually for loose screws, cracks, or rust. Apply a sealant or paint to wooden sheds every few years to protect against the weather. For shed organization, keep the interior tidy to avoid overloading the structure.
Planning for Long-Term Care
Set a reminder to check your shed before harsh seasons like winter or heavy rain. Clean gutters and remove debris around the base to maintain proper drainage. These small steps keep your shed functional for years.
FAQ
What’s the best base for a shed?
A gravel or concrete base works best for most sheds. Gravel is affordable and allows good drainage, while concrete offers durability for larger custom sheds. Always level the ground during shed foundation prep for stability.
Do I need a permit for my shed?
It depends on your local regulations. Many areas require permits for sheds over 100 square feet. Check with your local building office before starting shed site preparation to avoid fines.
How long does it take to install a shed?
A small shed can take a weekend to install, while larger ones may need a few days. Proper install of the shed base and assembly steps take time, so don’t rush the process.
Can I install a shed myself, or should I hire professionals?
DIY is possible with the right tools and patience, but complex projects benefit from shed builders. They ensure proper shed installation and compliance with local codes.
Conclusion
A successful shed installation requires careful planning, from choosing the right spot to securing a solid foundation. By avoiding common mistakes like poor shed site preparation or skipping permits, you can build a shed that lasts for years. Take your time, use quality materials, and follow local regulations to get it right. With the right approach, your shed will serve as a reliable storage solution or workspace. Start your project with confidence, knowing you’ve planned for success. For expert guidance, explore trusted shed builders to help bring your vision to life.

