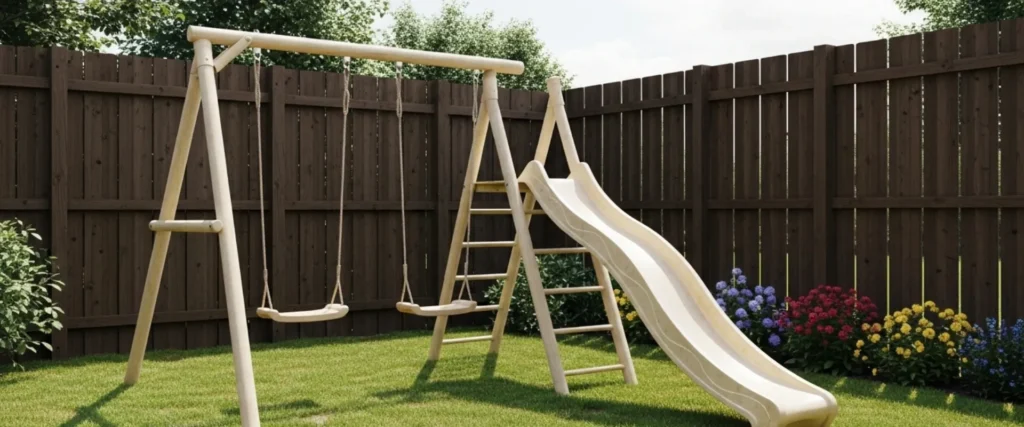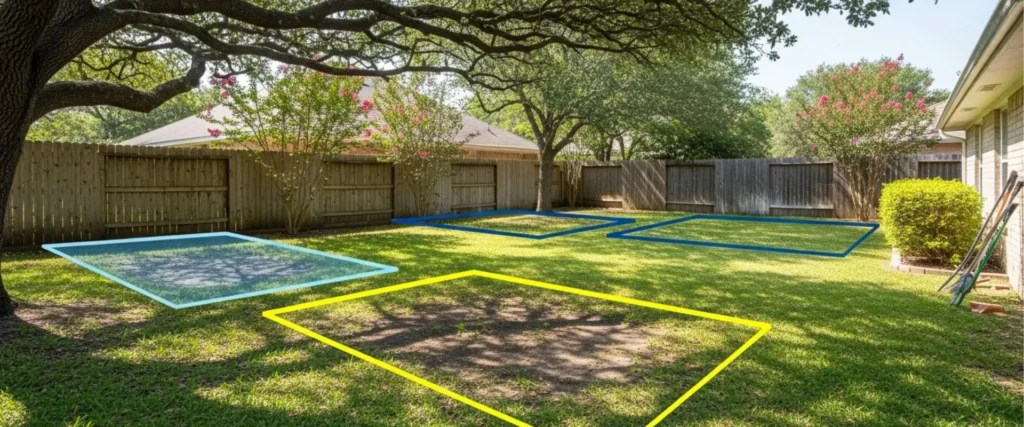
A shed is more than just a place to store tools; it’s an extension of your home’s functionality. Whether you use it for gardening, storage, or a weekend workshop, the floor sets the foundation for its durability and comfort. Choosing the right flooring is one of the most important steps in ensuring your shed lasts for years, resists weather damage, and remains easy to maintain.
With countless shed flooring ideas available, from concrete and wood to composite and vinyl, finding the best one can be challenging. Each type of flooring comes with its own advantages and limitations, depending on your budget, shed size, and purpose.
In this guide, we’ll explore the best shed flooring options and DIY shed floor ideas, covering everything from classic concrete bases to modern composites. You’ll also find detailed pros and cons for each material, as well as how professional suppliers can help you make the right decision for your space.
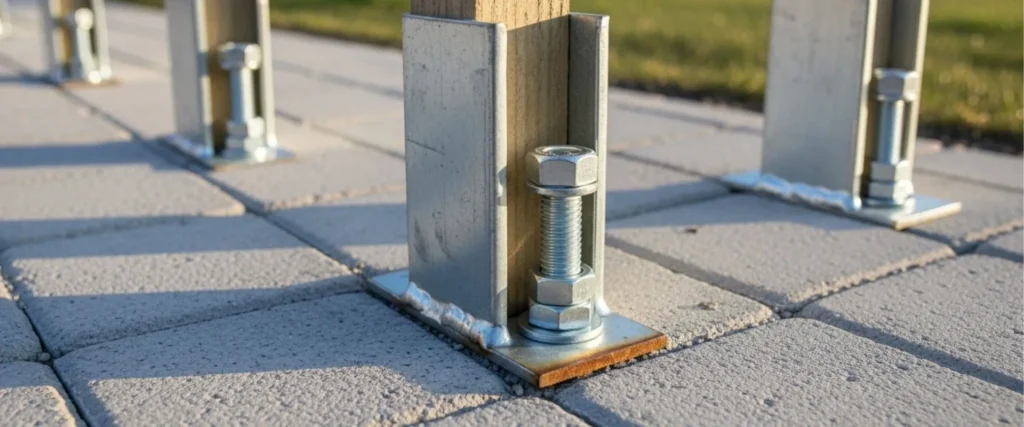
1. Concrete Flooring
Concrete remains one of the most popular outdoor shed flooring choices because of its unmatched strength and long lifespan. It’s ideal for heavy-duty sheds that store tools, machinery, or large equipment.
Pros:
- Extremely durable and resistant to cracking under heavy loads.
- Moisture-proof and pest-resistant, making it suitable for all weather conditions.
- Low maintenance and easy to clean, just sweep or hose down.
Con:
- Cold and hard underfoot, requiring mats or insulation for comfort.
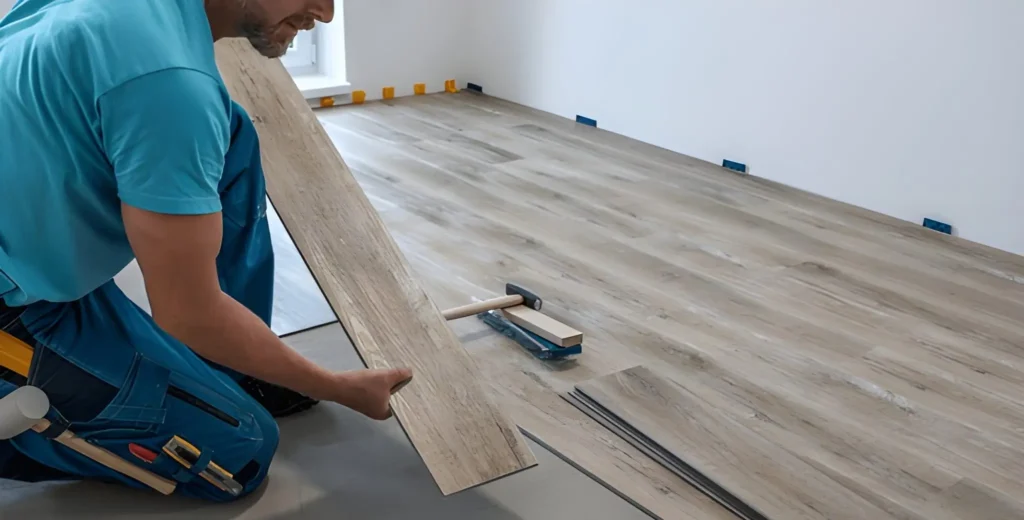
2. Pressure-Treated Plywood Flooring
If you prefer a raised foundation, pressure-treated plywood is an excellent and affordable option. It offers a balance of strength, affordability, and ease of installation, making it popular among DIY builders.
Pros:
- Budget-friendly and easy to cut or install for custom shed sizes.
- Resistant to termites and minor moisture exposure due to its treatment.
- Can be painted or sealed to match your shed’s interior.
Con:
- May warp or rot over time if exposed to continuous water or humidity.
3. Interlocking Rubber Floor Tiles

For those using their sheds as workshops or gyms, rubber tiles are a smart choice. They offer comfort, noise reduction, and quick installation without the need for adhesives.
Pros:
- Shock-absorbing and slip-resistant, perfect for standing or working long hours.
- Easy to replace damaged tiles individually.
- Provides insulation against cold concrete or wooden floors.
Con:
- It can fade or deteriorate if constantly exposed to direct sunlight.
4. Vinyl Flooring
Vinyl flooring is one of the most versatile shed floor materials, offering style, resilience, and affordability. It’s ideal for sheds that double as hobby spaces or small home offices.
Pros:
- Water-resistant and easy to clean, great for humid or damp environments.
- Available in various styles and colors, offering a polished look.
- Simple installation using adhesive or click-lock systems.
Con:
- It can tear if exposed to sharp tools or heavy dragging.
5. Epoxy Coated Floor
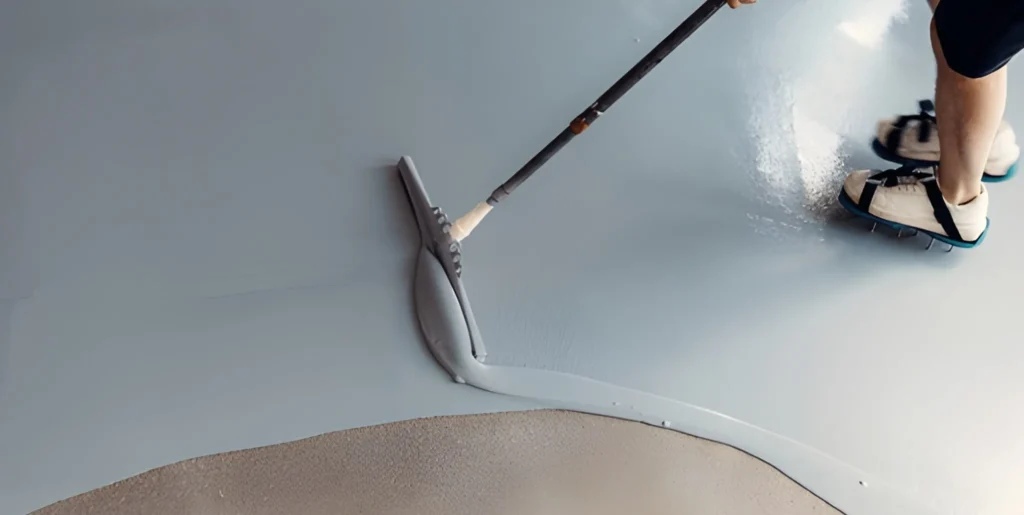
For concrete-based sheds, an epoxy coating can transform a plain slab into a glossy, durable, and chemical-resistant surface. It’s ideal for sheds used as workshops, garages, or storage for lawn equipment.
Pros:
- Highly durable and resistant to oil, chemicals, and moisture.
- Creates a seamless surface that’s easy to clean.
- Enhances light reflection, brightening the shed interior.
Con:
- Requires careful preparation and professional installation for best results.
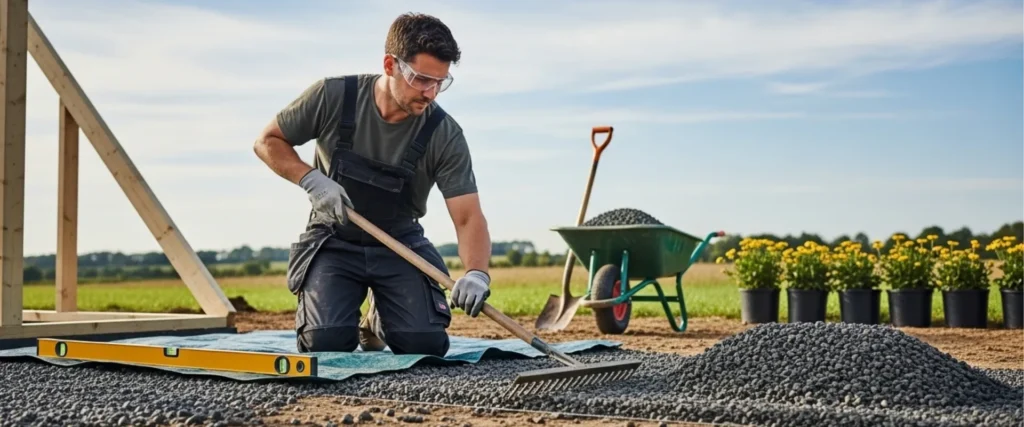
6. Gravel Flooring
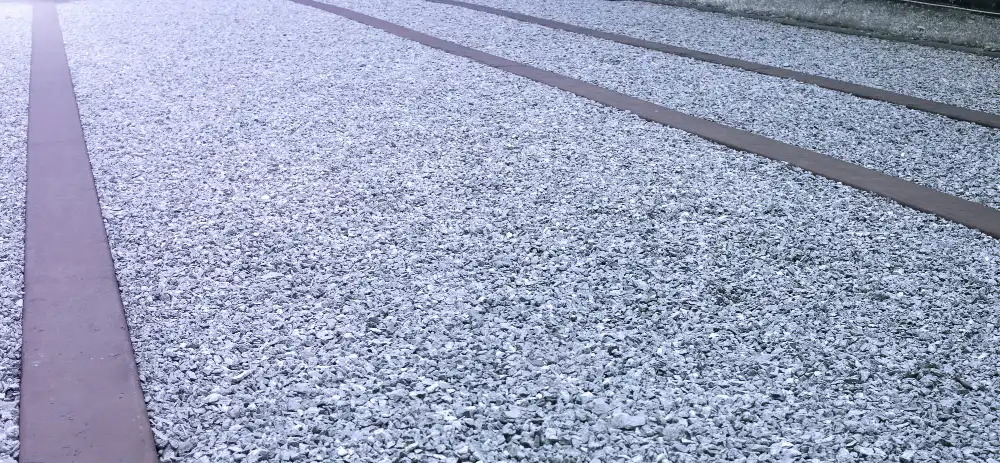
If you’re building a simple garden or tool shed, gravel flooring offers a practical and low-cost solution. It’s easy to install and provides good drainage.
Pros:
- Budget-friendly and doesn’t require complex installation.
- Allows excellent drainage, preventing mold and water damage.
- Natural look that blends well with outdoor surroundings.
Con:
- An uneven surface makes it difficult to roll heavy items or carts.
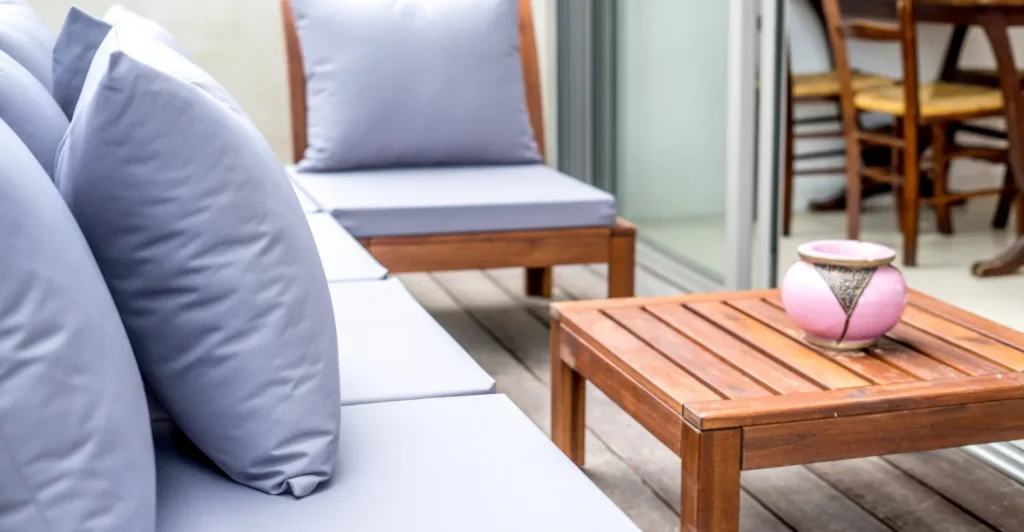
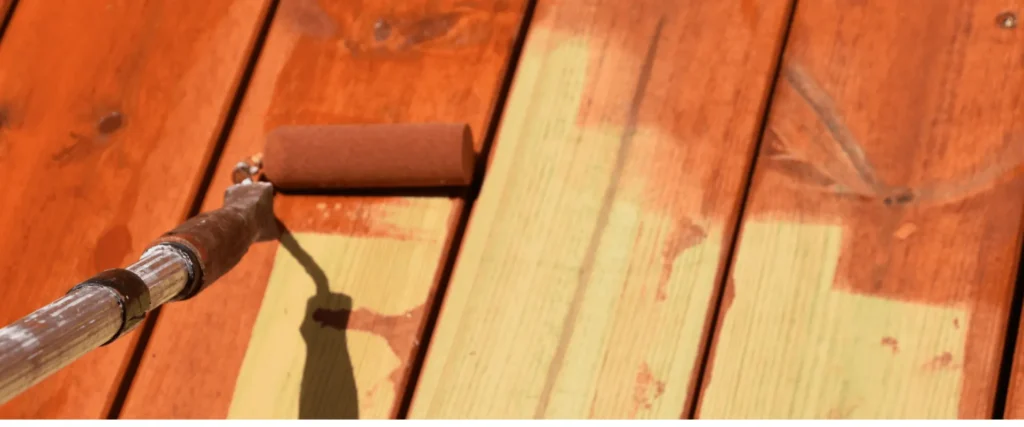
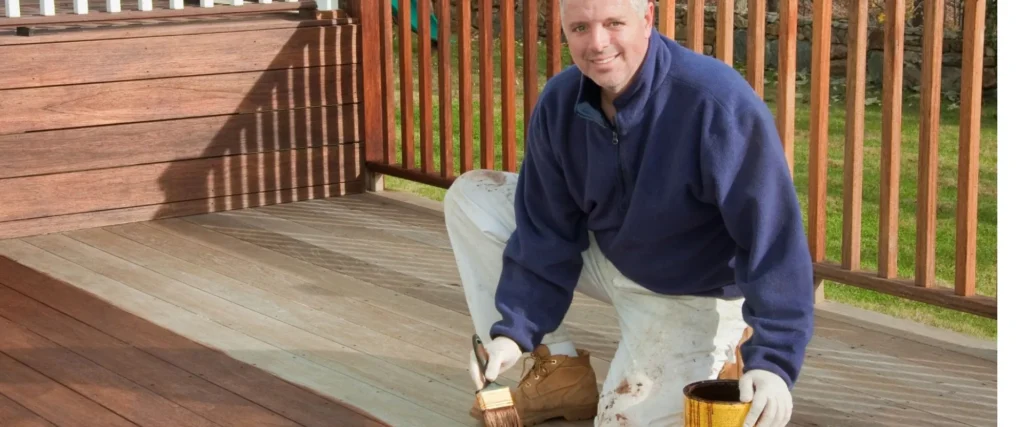
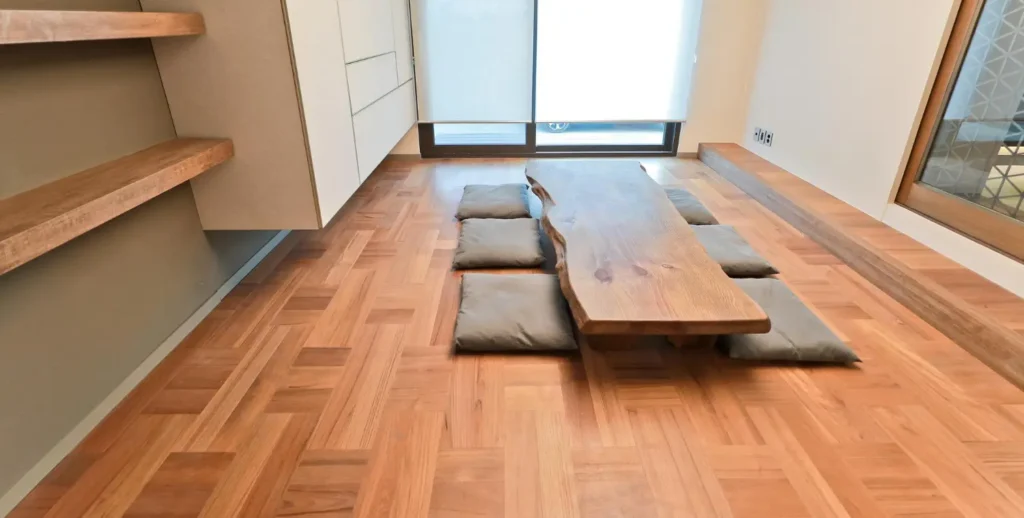
7. Wood Decking Boards
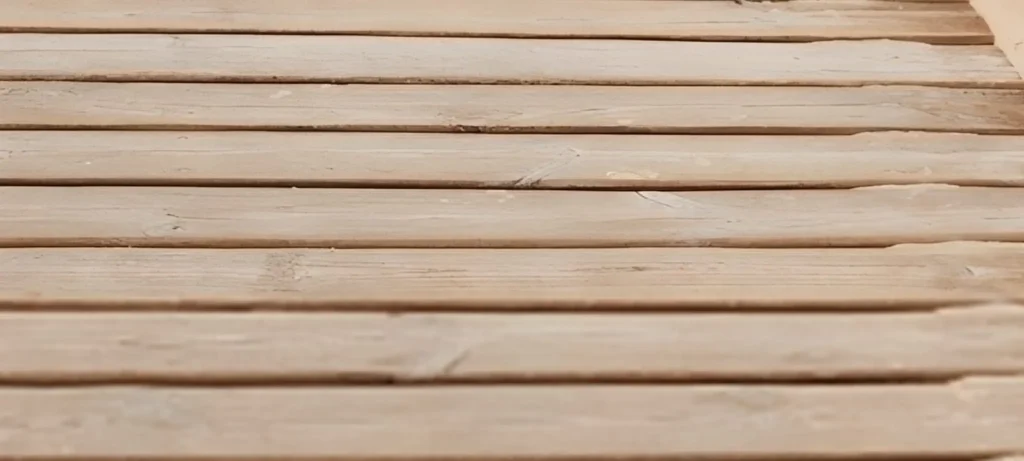
Wood decking boards bring a warm, natural feel to your shed while offering strong support for light to moderate use. When properly treated, they can last for many years.
Pros:
- Attractive, rustic look that enhances the overall aesthetic.
- Comfortable to walk on and adds insulation value.
- Easy to repair or replace individual boards when needed.
Con:
- Requires regular sealing or staining to prevent rot and fading.
8. Plastic Composite Flooring
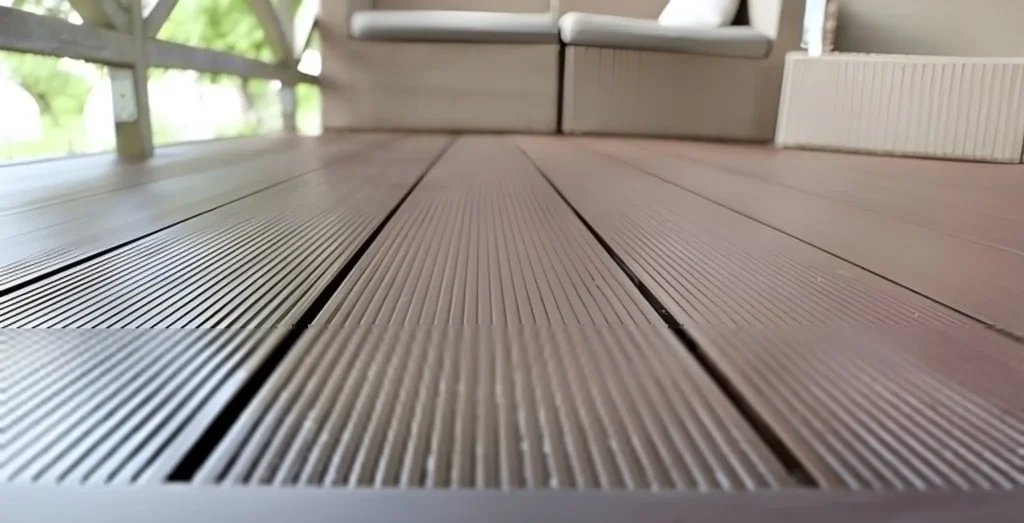
Composite flooring, made from recycled plastic and wood fibers, is a durable and eco-friendly alternative to traditional wood flooring. It’s one of the best shed flooring options for long-term use.
Pros:
- Completely waterproof and resistant to pests and rot.
- Low maintenance, no need for sanding or refinishing.
- A long lifespan makes it a great investment for permanent sheds.
Con:
- Higher initial cost compared to standard wooden floors.
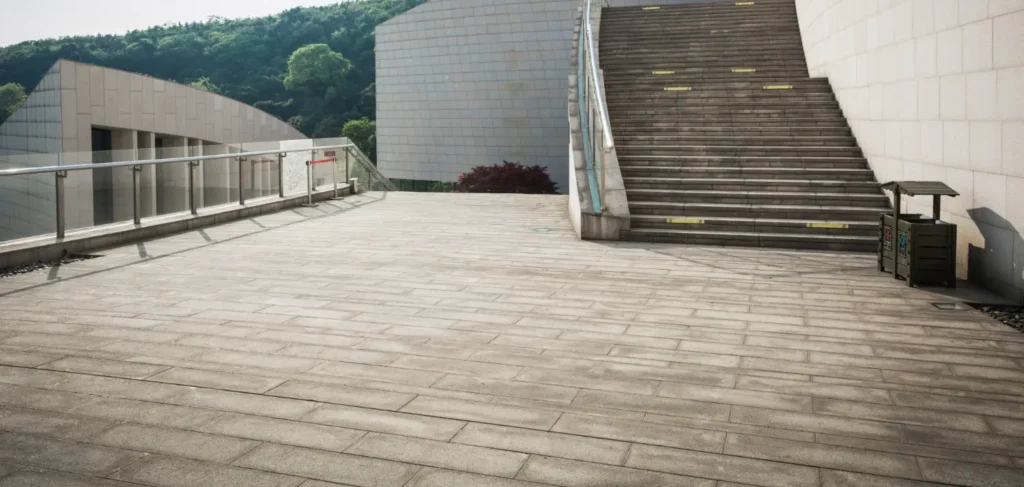
9. Pavers or Patio Stones
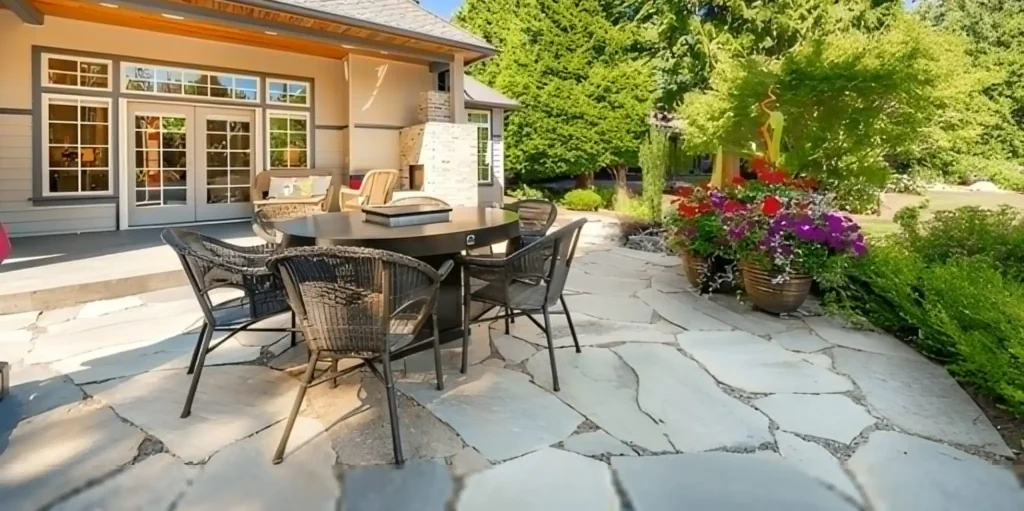
Pavers make a sturdy and decorative flooring choice for outdoor sheds built directly on the ground. They offer stability and can easily be arranged into custom designs.
Pros:
- Attractive and customizable pattern options.
- Excellent water drainage and slip resistance.
- Durable and weather-resistant, ideal for garden sheds.
Con:
- Requires precise leveling and compacting of the ground for stability.
10. OSB (Oriented Strand Board)
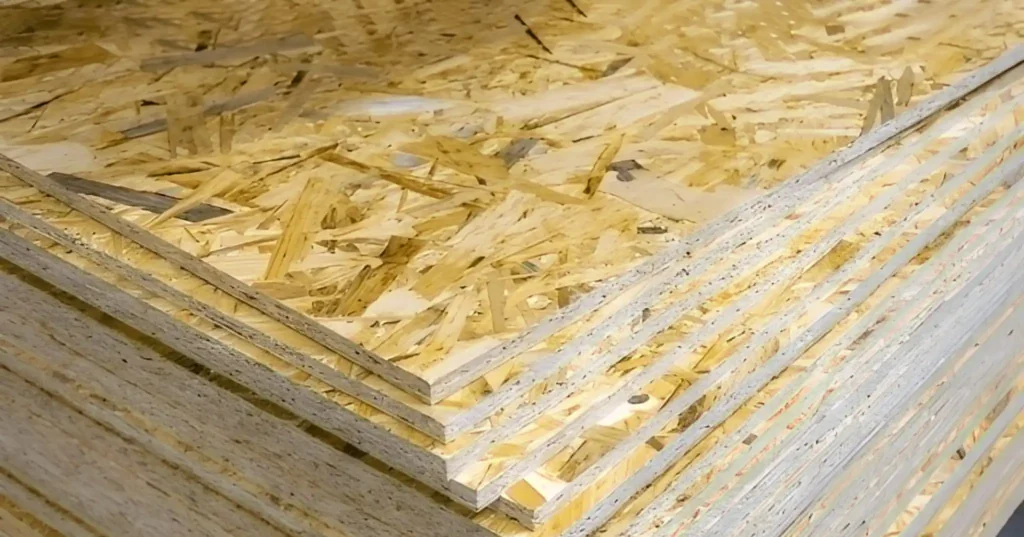
OSB is a cost-effective flooring material made from compressed wood strands bonded with resin. It’s great for light-use sheds or temporary structures.
Pros:
- Very affordable and easy to cut or install.
- Strong and stable under moderate weight.
- Smooth surface suitable for vinyl or carpet overlays.
Con:
- It can swell or degrade quickly if exposed to water.
How to Choose the Right Shed Floor Material
When choosing the best shed floor materials, think about how you’ll use the space. If your sheds will house heavy tools, go for concrete or epoxy. For lighter use, plywood or vinyl may be sufficient. Additionally, consider your local weather; moisture-resistant materials, such as composite or rubber, are ideal for damp climates.
Your budget also plays a key role. While gravel and OSB are affordable for quick projects, investing in composite or epoxy floors ensures durability and less maintenance in the long run.
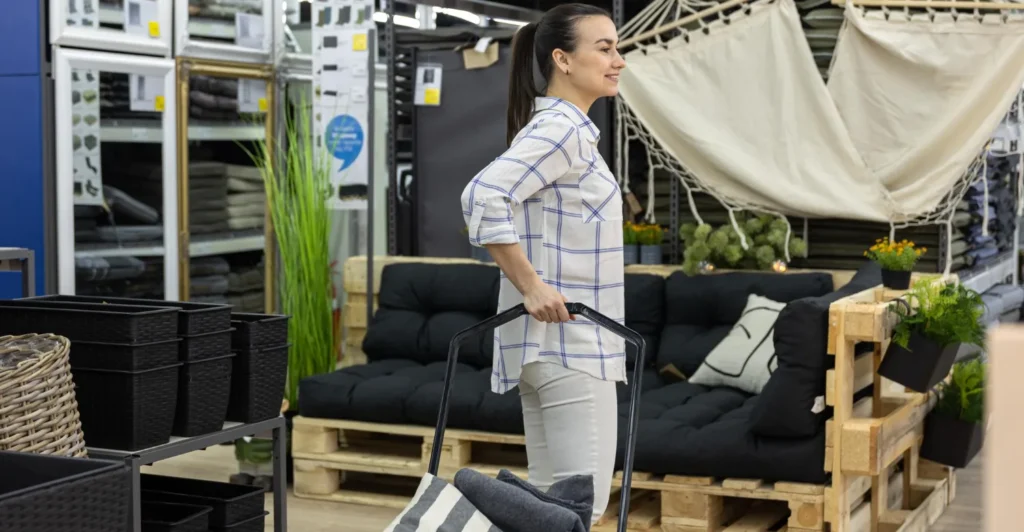
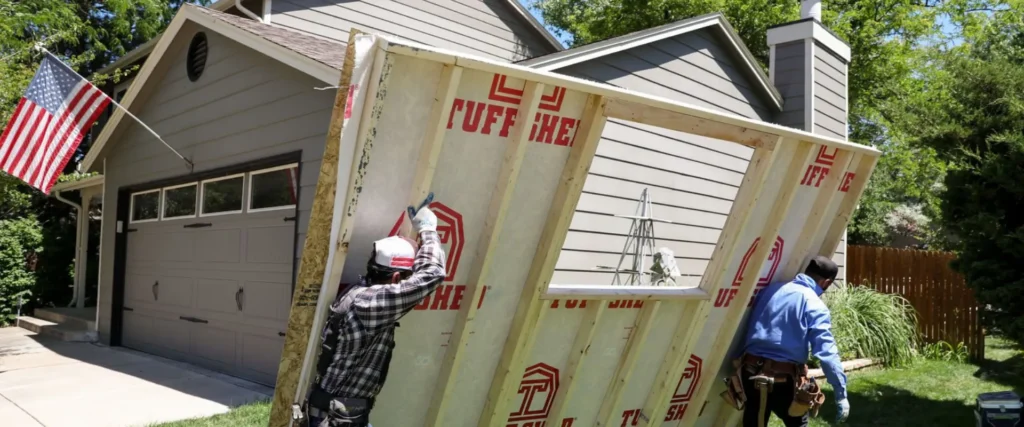
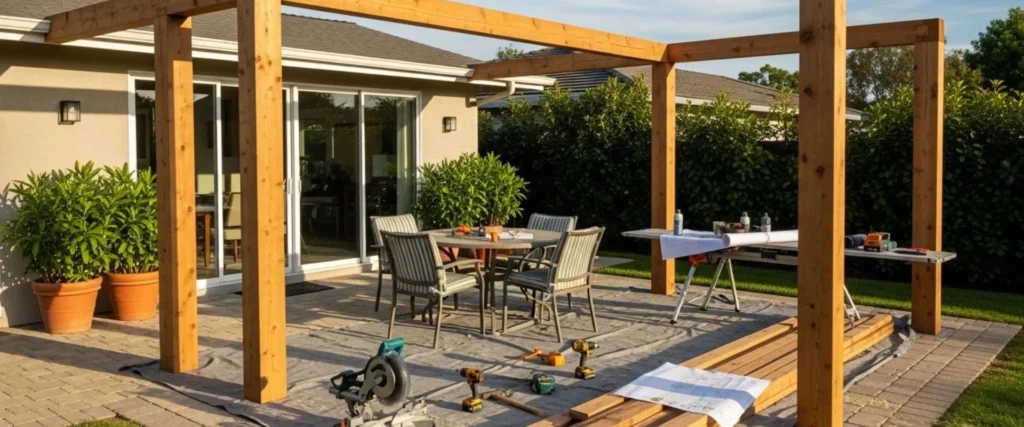
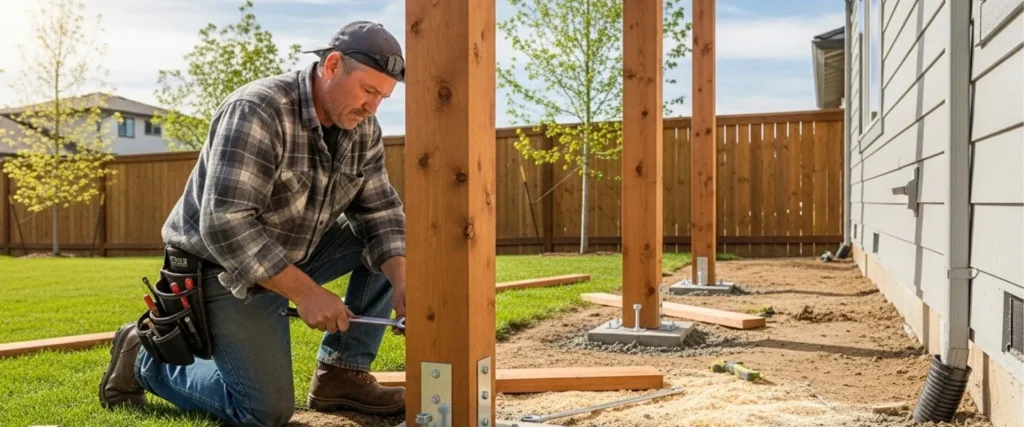
Why Professional Help Matters
While many DIY shed floor ideas can save money upfront, professional installation ensures precision and long-term reliability. Professionals can assess soil stability, install moisture barriers, and apply protective coatings properly, steps often overlooked in DIY projects.
If you want your shed to last for decades without cracking, warping, or moisture problems, consulting an expert is the smartest investment.
Conclusion
Your shed floor is the backbone of its structure; it supports everything, from tools and equipment to your creative projects. Choosing the right flooring isn’t just about looks; it’s about creating a stable, safe, and lasting space that stands up to daily wear and weather challenges.
Concrete and epoxy provide unmatched strength, while composite and vinyl bring modern durability and low maintenance. For those on a budget, OSB or gravel can work well for light-use sheds.
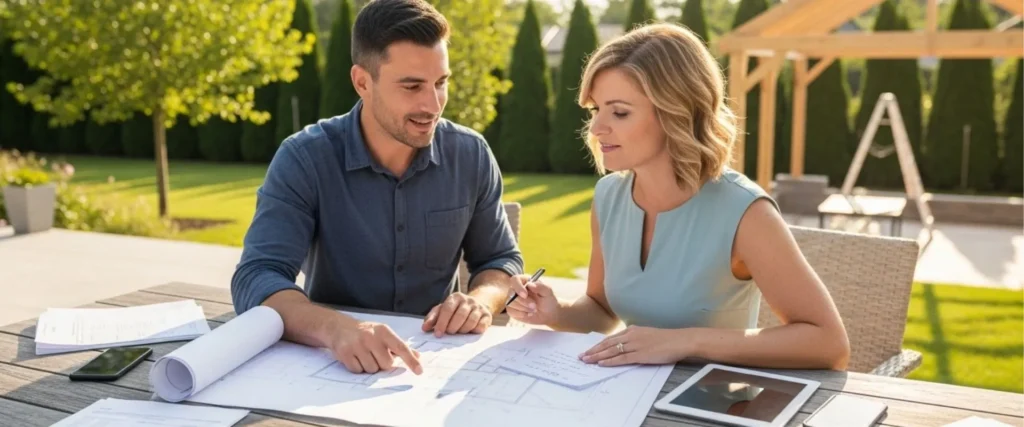
If you’re unsure where to start, it’s worth getting professional advice. Experts can help you pick the best flooring material for your environment, prepare the base correctly, and install it to last.
Start planning your shed flooring upgrade today, and let a professional help you build a foundation that’s made to last.
FAQs About Shed Flooring
What is the best flooring for a shed?
Concrete and composite floors are among the best choices for durability, stability, and weather resistance. They provide a strong foundation for both light and heavy-duty sheds.
What is the best base for a shed floor?
A compacted gravel base topped with concrete or treated wood works best. It provides proper drainage and prevents the shed from shifting over time.
What is the best material for a long-lasting shed?
Composite boards and concrete slabs last the longest due to their moisture resistance and structural strength.
What flooring is 100% waterproof?
Vinyl, epoxy, and composite flooring are completely waterproof, making them ideal for humid or outdoor environments.
What is 4 times stronger than epoxy?
Polyurea coatings are known to be up to four times stronger than epoxy and cure faster, making them a great choice for industrial-strength sheds.