Creating a safe and enjoyable backyard playground helps keep kids active and happy. At Wood Kingdom West, we know parents want their children to enjoy outdoor play without worry. A well-maintained playground encourages exploration while minimizing risks.
This guide offers a backyard playground safety checklist to help you create a secure environment. We’ll cover equipment checks, surface safety, and maintenance tips to ensure your kids’ playtime is both fun and safe. Let’s dive into practical steps for a worry-free outdoor play area.
Why Backyard Playground Safety Matters
A safe playground protects children from injuries while allowing them to enjoy active play. Each year, thousands of children visit emergency rooms due to playground accidents, many from falls or faulty equipment. A backyard playground safety checklist helps you spot hazards before they cause harm. Regular inspections and proper setup reduce risks, letting kids swing, slide, and climb with confidence.
By prioritizing safety, you create a space where children can grow, explore, and have fun. Consider backyard playset ideas to design a space that’s both engaging and secure.
Common Playground Risks to Watch For
Playgrounds can have hidden dangers if not properly maintained. Loose bolts, worn ropes, or uneven surfaces can lead to accidents. Falls are the leading cause of playground injuries, often due to unsafe surfaces or poorly secured equipment. Splinters from wooden structures or sharp edges on metal parts also pose risks. Knowing these hazards helps you address them early.
A thorough playground safety inspection approach ensures that every part of the play area is safe for kids. Quality playhouse materials can also reduce risks, such as splinters or wear.
Your Backyard Playground Safety Checklist
To keep your playground safe, follow this detailed backyard playground safety checklist. Regular checks and maintenance create a secure environment for kids to enjoy.
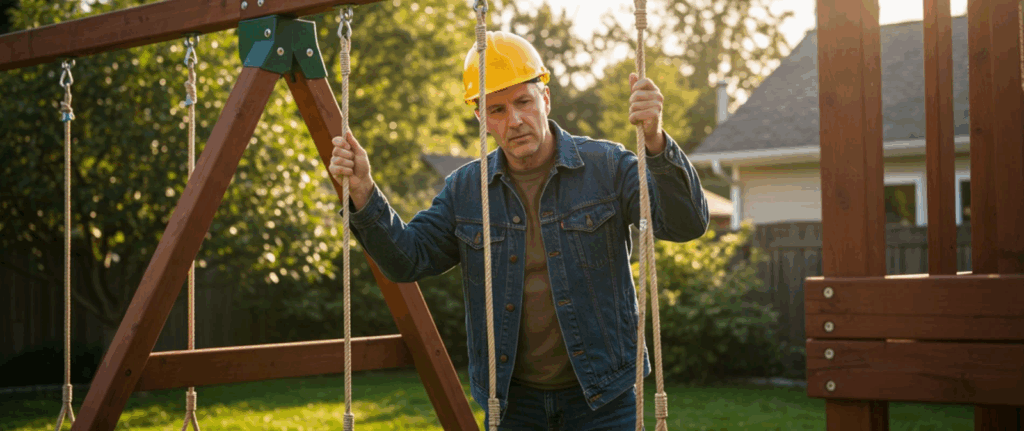
Inspect Equipment for Wear and Tear
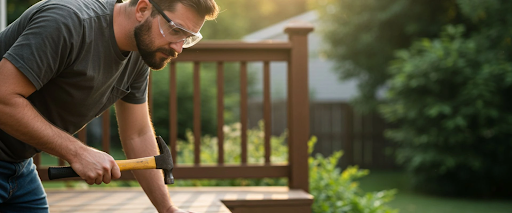
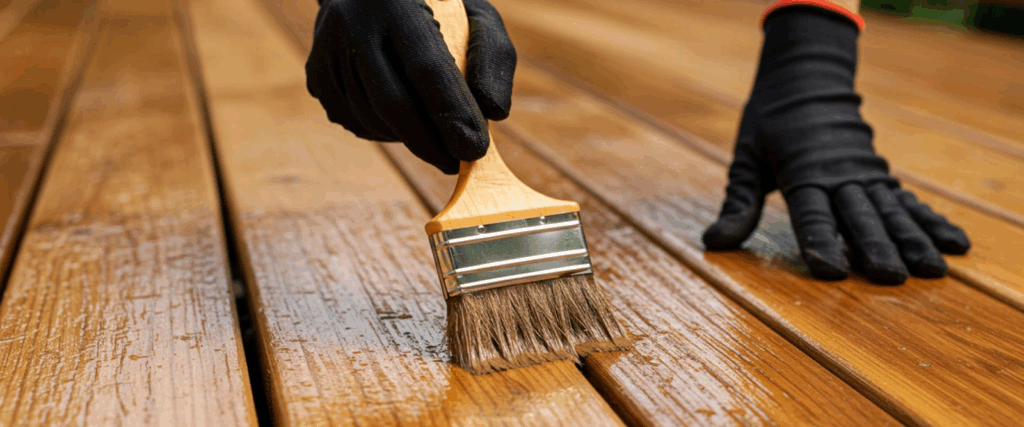
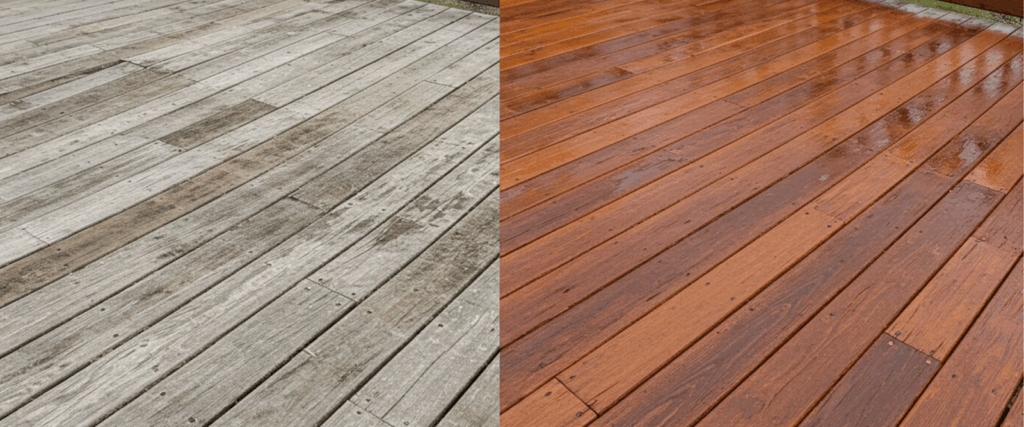
Check all playground equipment regularly for signs of damage. Look for rust on metal parts, cracks in plastic slides, or frayed ropes on swings. Tighten loose bolts and replace worn components immediately. Wooden structures, such as those from Wood Kingdom West, require extra attention to prevent splinters.
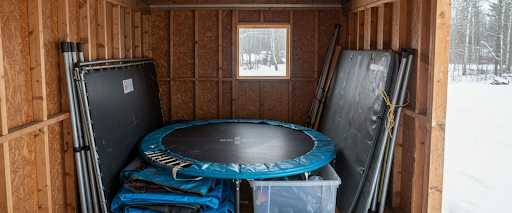
Sand or seal wood surfaces yearly to keep them smooth. Regular inspections catch small issues before they become big problems, ensuring kids can play safely. For added fun, incorporate trampoline games to keep kids engaged while using sturdy equipment.
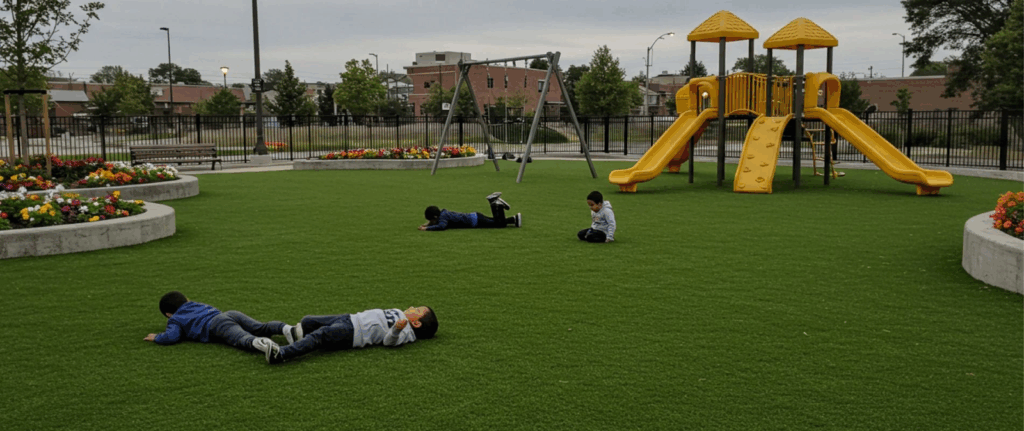
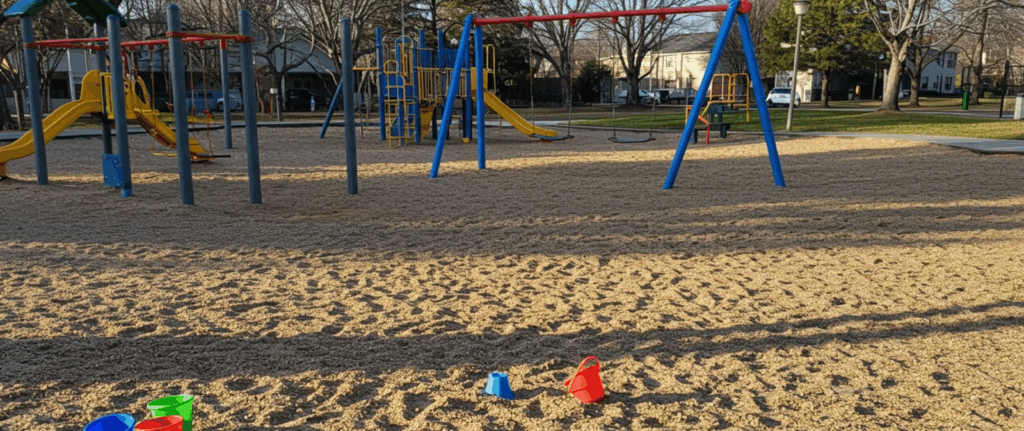
Ensure Safe Playground Surfaces
The ground beneath your playground matters. Falls cause most injuries, so a proper surface is critical. Use soft materials, such as rubber mulch, wood chips, or sand, to provide cushioning for falls. Avoid hard surfaces like concrete or grass, which doesn’t absorb impact well. Check that the surface material is at least 12 inches deep for adequate protection. Playground safety surfacing options, such as rubber tiles, can enhance safety and durability. Keep surfaces level and free of debris to prevent trips.
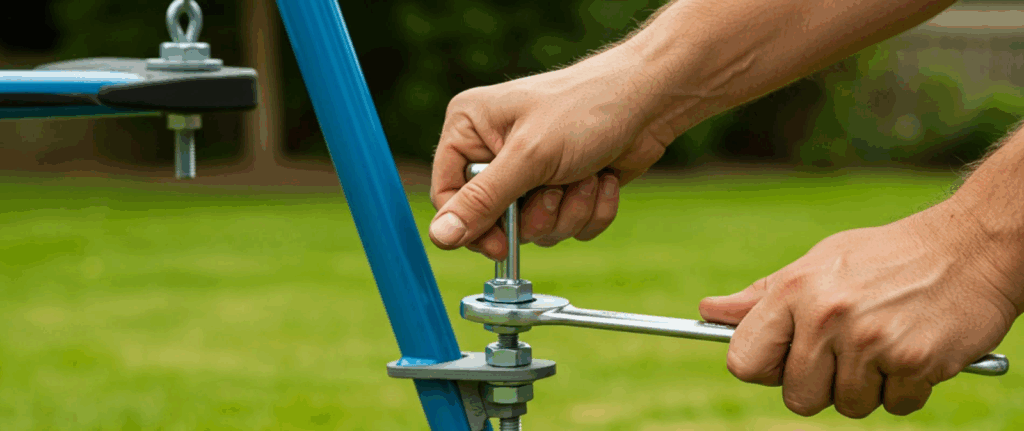
Check for Proper Anchoring
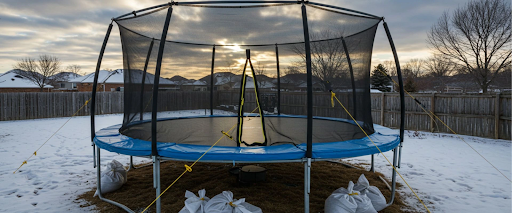
Unsecured equipment can tip over, causing serious injuries. Ensure swings, slides, and climbing structures are firmly anchored to the ground. Check stakes or bolts regularly to confirm they’re tight and stable. For larger playsets, follow the manufacturer’s guidelines for anchoring. A well-anchored playground remains steady during active play, providing parents with peace of mind and kids with a safe space to explore.
Maintain Safe Clearances Around Equipment
Clear space around swings, slides, and climbing structures prevents collisions. Ensure at least 6 feet of free space around each piece of equipment. Remove obstacles like rocks, toys, or low branches that could cause trips or falls. Swings need extra clearance, twice the height of the swing beam in front and behind. A clear play area lets kids move freely without bumping into hazards. Encourage open play to promote safe, unstructured fun in these spaces.
Regularly Clean and Sanitize
Dirt, mold, or grime can make playground equipment slippery or unsafe. Clean it regularly with mild soap and water to remove dirt and prevent buildup. Check for mold on wooden or plastic surfaces, especially in areas with shade. Sanitize high-touch areas, such as handrails and swing chains, to reduce the spread of germs. A clean playground not only looks inviting but also keeps kids safe from slips or infections.
Supervise Kids During Play
Even the safest playground needs adult supervision. Watch kids closely to ensure they use the equipment correctly. Teach them to avoid rough play, like pushing or jumping from high places. Set clear rules, such as one child per swing or no climbing on slide tops. Supervision complements your kids’ backyard play safety tips, ensuring rules are followed and risks are minimized. Consider adding basketball hoops to encourage supervised, active play for older kids.
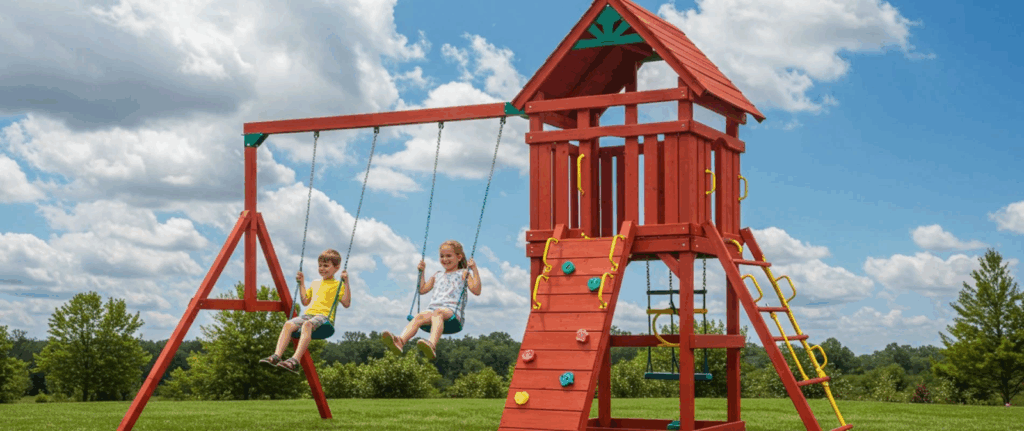
Choosing the Right Playground Equipment
Selecting safe, durable equipment sets the foundation for a secure play area. Opt for high-quality materials designed for outdoor use. Look for smooth edges, non-toxic finishes, and age-appropriate designs. For younger kids, choose low platforms and gentle slides. Older children can handle taller structures with more challenging features. Always check weight limits and follow assembly instructions carefully. Durable trampolines can add variety to your playground setup.
Age-Appropriate Design Tips
Match equipment to your child’s age and abilities. Toddlers need low platforms and short slides, while older kids can use taller climbing walls or rope ladders. Avoid equipment with small gaps where heads or limbs could get stuck. Check that ladders and steps are easy to grip.
An outdoor play area safety guide emphasizes the importance of age-appropriate designs to prevent injuries and ensure fun for every child. Custom kids’ playhouses can also provide safe, imaginative play spaces for younger children.
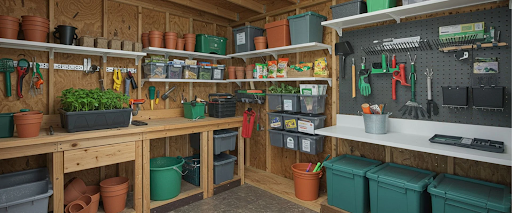
Maintaining Your Backyard Playground
Regular maintenance keeps your playground safe and functional. Schedule monthly inspections using your backyard playground safety checklist. Tighten bolts, lubricate moving parts, and replace worn components promptly. Seasonal checks are also key; inspect for winter damage in spring and clear debris after storms. Swing set maintenance is especially important to keep chains and seats secure. A well-maintained playground lasts longer and stays safe for years of play.
Seasonal Maintenance Tips
Weather can wear down playground equipment over time. In spring, check for cracks or rust caused by winter freeze-thaw cycles. In fall, clear leaves and debris to prevent slippery surfaces. Before summer, inspect surfaces for heat retention. Some materials get too hot for safe play.
Regular care keeps your playground ready for every season, ensuring kids can play safely and worry-free. Plan summer activities to make the most of your safe, well-maintained play area.
FAQs
How often should I inspect my backyard playground?
Inspect your playground monthly for wear, loose parts, or hazards. Use a backyard playground safety checklist to guide you. Seasonal checks are also important after harsh weather.
What’s the best surface for a safe playground?
Soft surfaces, such as rubber mulch, wood chips, or sand, are most effective. Ensure at least 12 inches of depth for cushioning. An outdoor play area safety guide recommends avoiding hard surfaces, such as concrete, to prevent injuries.
How do I teach kids to play safely?
Set clear rules, like no pushing or climbing on slide tops. Supervise closely and explain how to use the equipment correctly. Kids’ backyard play safety tips include teaching proper play habits from an early age.
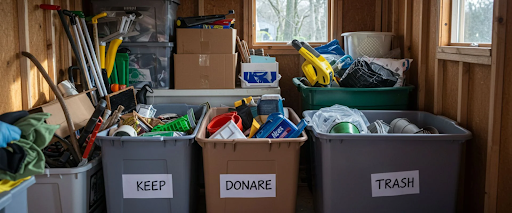
What should I do if I find damaged equipment?
Replace or repair damaged parts immediately. Tighten loose bolts or contact the manufacturer for replacement parts. Regular playground safety inspection tips help catch issues early.
Conclusion
A safe backyard playground lets kids enjoy endless hours of fun without worry. By following this backyard playground safety checklist, you can spot hazards, maintain equipment, and create a secure play area. Regular inspections, properly maintained surfaces, and close supervision are key to preventing injuries.
For high-quality, safe playsets, Wood Kingdom West offers durable options designed for kids of all ages. Contact Us to explore our range of playsets and start creating a fun, secure backyard today.